1
GETTING STARTED WITH COMPUTERCRAFT

Before you can start programming robotic turtles to do your bidding, you’ll need to install and set up Minecraft and the ComputerCraft mod. Fortunately, the free ATLauncher software makes this process painless. In this chapter, I’ll show you how to obtain Minecraft and the ComputerCraft mod, and then I’ll walk you through all the configuration steps you’ll need to do before you start programming.
INSTALLING MINECRAFT, ATLAUNCHER, AND COMPUTERCRAFT
Installation Instructions Update for Minecraft 1.16
The instructions in the book only work for Minecraft 1.8. Instead of using the ATLauncher program to add the ComputerCraft mod to Minecraft, the current version of Minecraft uses Forge. Updated instructions are found in this blog post, Installing the ComputerCraft Mod for Minecraft 1.16 (and later), and a video of installing Forge and the mod are on YouTube..
Configuring Minecraft’s mods used to be tricky because it involved a series of complicated steps. However, you can now use the ATLauncher software to load mods into Minecraft more easily. Because Minecraft, ATLauncher, and ComputerCraft are created by different groups, you’ll need to download and install each program separately. All three are available for the Windows, macOS, and Ubuntu operating systems, but the ComputerCraft mod isn’t available for Minecraft on mobile, Xbox, or PlayStation platforms.
Mods only work for Minecraft’s Java Edition, which is also called the Windows version of Minecraft. The Windows 10 version of Minecraft doesn’t support mods, although it supports a new form of mods called add-ons. But don’t worry! We’ll be using software called ATLauncher to download and install the correct version of Minecraft.
BUYING MINECRAFT ONLINE
Although ATLauncher and ComputerCraft are free, Minecraft is sold by Mojang (now owned by Microsoft). You can buy it online at https://www.minecraft.net/ after you create a free Mojang account. When you complete this purchase, don’t download Minecraft from this site. Instead, you’ll use the ATLauncher software to download and install Minecraft to your computer. (If you already have Minecraft installed, you should still follow the instructions to install Minecraft with ATLauncher.)
NOTE
Keep your Mojang account password safe and secret. Don’t share it with friends or people who claim to be Mojang employees. Use it only to log into the ATLauncher software or the https://www.minecraft.net/ website and no other sites. If you think someone else might be logging into your account, change your password immediately.
DOWNLOADING AND INSTALLING ATLAUNCHER
The ATLauncher software makes it easy to add mods to Minecraft. Figure 1-1 shows how you can download it for free at https://www.atlauncher.com/. Click the Downloads link at the top of the page to find the installation help video. Follow the steps in the video to download and install ATLauncher. The video is also available on YouTube at https://youtu.be/gTf7rRCwMcI/.
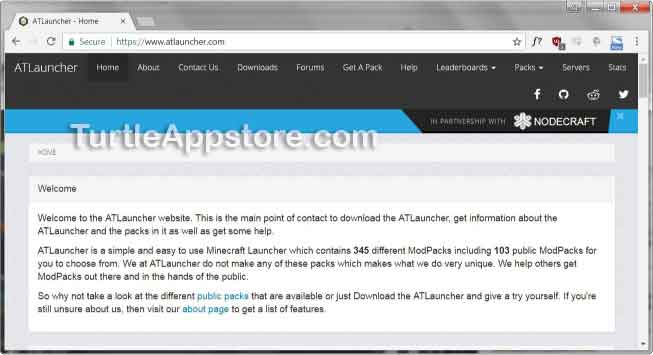
Figure 1-1: The ATLauncher website, where you can download the software
After installing ATLauncher, run it and click the Accounts tab on the right side. Fill in your Mojang account’s username and password. You can select Remember password so you don’t have to enter this information each time you run Minecraft.
To connect to a Minecraft server, you must install the same mods (and versions of each mod) as the server. Because so many mod combinations are possible, fans have created modpacks that consist of a standardized set of mods. We’ll download a “vanilla” modpack (that is, a modpack with very few mods) now, and we’ll add the ComputerCraft mod next. Click Packs and find the Vanilla Minecraft modpack. You’ll add ComputerCraft to this version of Minecraft.
Click the New Instance button for the Vanilla Minecraft modpack. An instance is an installation of a particular modpack on your computer. In the window that appears, name the instance something like CC Minecraft. Be sure to select 1.8.9 (Minecraft 1.8.9) for the version to install because this is currently the latest version that ComputerCraft supports. Leave Enable User Lock unchecked. Enabling the user lock means that only the Windows, macOS, or Linux user you are logged in as will be able to access this instance.
NOTE
Future versions of ComputerCraft may be compatible with newer versions of Minecraft. In this case, up-to-date installation instructions will become available at https://www.nostarch.com/codingwithminecraft/.
In the Select Mods to Install window that appears, select only the box next to Minecraft Forge (Recommended) and then click Install. The Minecraft Forge mod is required for ComputerCraft.
When the installation is finished, you can find your instance of Minecraft by selecting the Instances tab on the right side of the ATLauncher window. This instance is for Vanilla Minecraft, so you’ll have to manually download and install ComputerCraft.
DOWNLOADING AND INSTALLING COMPUTERCRAFT
This section tells you how to download and install the ComputerCraft mod. There is also a video that shows how to install ComputerCraft at https://youtu.be/g4Zs2JY1vi8/. You can download the ComputerCraft mod at http://www.computercraft.info/download/. Click the Download ComputerCraft 1.79 (for Minecraft 1.8.9) link to download the file ComputerCraft1.79.jar. This file is also available at https://www.nostarch.com/codingwithminecraft/.
I like to keep this file in ATLauncher’s folder so that it’s easy to find. On ATLauncher’s Instances tab, click the Edit Mods button next to your Vanilla Minecraft instance. You’ll see the Editing Mods for CC Minecraft window, as shown in Figure 1-2, which currently has only the Minecraft Forge (Recommended) mod installed and enabled.
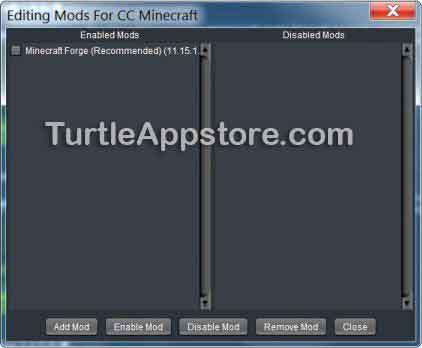
Figure 1-2: The Editing Mods for CC Minecraft window
Click the Add Mod button, and in the window that appears, click the Select button and find the ComputerCraft1.79.jar file you downloaded. Next to Type of Mod, select Inside Minecraft.jar from the drop-down menu. Then click the Add button.
The ComputerCraft1.79.jar file will appear on the right side under Disabled Mods. This mod is now installed to your Minecraft instance, but you must enable it to use it. Select the checkbox next to ComputerCraft1.79.jar, and then click the Enable Mod button at the bottom of the window. The ComputerCraft mod will move to the left side of the window under Enabled Mods. Click the Close button to complete the process.
Return to the Instances tab, and click the Play button next to your Minecraft instance to launch the game. The first time you click Play, a window will appear telling you that an update is available, as shown in Figure 1-3. Click the Don’t Remind Me Again button to refuse the update and hide this window in the future.
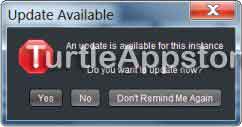
Figure 1-3: The Update Available window
If you accidentally click Yes and update the instance, the ComputerCraft mod might not work correctly. You’ll have to delete the instance and repeat all the instance and mod-adding steps again.
RUNNING MINECRAFT
After you’ve run ATLauncher and clicked the Play button, Minecraft’s main menu will appear, as shown in Figure 1-4.
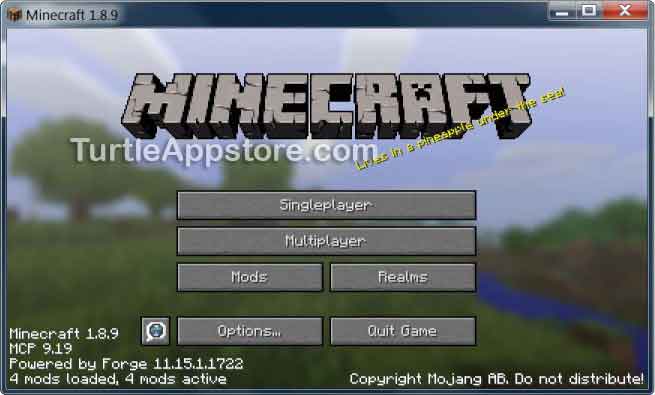
Figure 1-4: Minecraft’s main menu
Click the Singleplayer button, which should take you to a list of Minecraft worlds you’ve made. If this is the first time you’re running Minecraft, you’ll need to create a world.
CREATING A NEW WORLD
Minecraft does not have a standard set of levels. Rather, the game world is randomly generated and always provides you with a new, unknown area to explore. From the Singleplayer menu, click the Create New World button, and the Create New World menu will appear, as shown in Figure 1-5. Enter the name My CC World in the World Name text field. Then click the Game Mode button until it displays Game Mode: Survival. (You’ll also be able to switch modes while playing the game.)
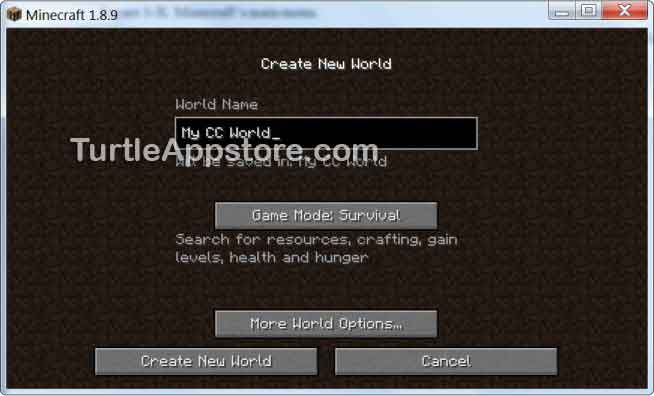
Figure 1-5: The Create New World menu
Click the More World Options… button, and then click the Allow Cheats button until it displays Allow Cheats: ON. Cheats will allow you to switch between the Survival and Creative game modes, which is explained next. To generate the new world, click the Create New World button.
MINECRAFT GAME MODE DIFFERENCES
Minecraft has three modes you can play in: Creative, Survival, and Hardcore.
In Creative mode, you can fly, don’t need to eat, can’t die, and will have an unlimited supply of all blocks. This mode is ideal if you just want to create structures out of Minecraft blocks, such as castles or giant artwork.
In Survival mode, things get real. You’ll need to find food to prevent yourself from starving. The only blocks you get to build with are the ones you’ve mined yourself. You can’t fly, and if you fall off a cliff, you’ll take damage or even die. At night, monsters come out.
Because you set the Allow Cheats option to ON when you created the world, you’ll be able to use the /gamemode command to switch between the Survival and Creative modes. To change the game mode, press the T key to open the chat window and enter /gamemode creative or /gamemode survival, as shown in Figure 1-6.
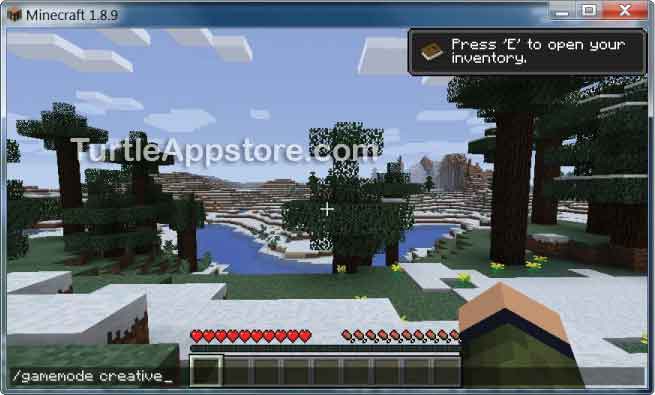
Figure 1-6: Entering the /gamemode creative command into the chat window
I think playing in Survival mode makes the game more challenging and fun. Resources are limited and you have to work for your blocks. Survival mode is also where ComputerCraft shines. By programming turtles to help you automate boring chores, you can keep yourself fed, safe, and well stocked while braving the elements.
Don’t worry about dying in Survival mode. When you die, you’ll drop the items that you were carrying and start back at your original spawn point, but you can keep playing.
Hardcore mode is similar to Survival mode, but you get one life and one life only. After dying, you must delete the game world. ComputerCraft also works in Hardcore mode, but I recommend sticking to Survival mode for now.
WHAT YOU LEARNED
You’ve now completed all the setup steps you need to use this book. You downloaded and installed Minecraft, ATLauncher, and the ComputerCraft mod. As mentioned earlier, ATLauncher and ComputerCraft are free. Minecraft is not.
Minecraft is so big and has so many mods that it took a bit of setup to get going. But now that you’re ready to play, you’re also ready to start learning to code, so let’s write some code!